
Manufacturers thought sanding and polishing only belonged to skilled craftsmen -until cobots came by.
Thanks to a new addition of end-effectors, cobots can now apply pressure on solid surfaces and precisely shape quality furniture and equipment. Their accurate force sensor makes them reliable sanders or polishers.
But how do you leverage cobot capabilities for your existing sanding, buffing, or even grinding applications?
Here’s how to buy the robot model and end-effector that best fits your needs and implement them in your manufacturing processes.
Why use cobot for your sanding and polishing applications?
Skilled polishers or finishers are becoming a rare breed in the manufacturing industry, especially in the wood and furniture sectors.
There’s a reason for that: sanding or polishing implies repetitive movements, sometimes heavy workload, and still requires consistent and skillful maneuvers to do the job.
Yet, many manufacturing companies need those personnel to finish their products, eliminate any bumps or sharp edges and make them look impeccable.
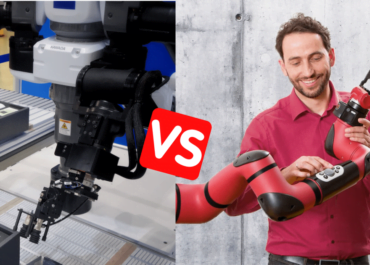
Some industrial robots can already effectively sand, but they’re not really flexible when it comes to workstation changes or part size modifications.
Cobots are a clear alternative, as they assist workers on these tedious tasks, by handling and sensing solid and irregular surfaces (steel, wood, plastic, fiberglass…). They can help raise your sanding processes to another level :
- Great consistency and precision (greater than human average accuracy) thanks to built-in force sensors
- Easy and quick to set up on any new work setting, so it can adapt to your high-mix low-volume manufacturing line.
- High-end safety to protect your workers from unexpected dust, displacements, or splashes
Which benefits can you expect from implementing sanding cobots?
- Relieve your workers from manually sanding your products while they can work on more complicated parts.
- Speed up your sanding processes, make your robots work around the clock and so optimize your cycle times and overall production planning
- Improve your product finish, quality, and look
Does this appeal to you? Read what’s next.
Sanding & Polishing cobots: a curated list of the best models
While sanding is a relatively new cobot application, there are already many cobot models to choose from to do the job. Here’s our curated selection to make up your mind :
Universal Robot

UR cobots are usually known for one thing: their great flexibility. So it’s no surprise that they are also good sanders, thanks to next-gen force sensing capabilities. With the wide model range of the UR Series (reach, payload, precision…), you make sure that you get the tailored-made specs for your applications. Your workers will also benefit from a user-friendly, intuitive coding interface. Thanks to the UR+ growing ecosystems of components, you can also choose the best sanding tools for your needs (including the Robotiq Sanding kit).
Techman-Omron

TM-Omron cobot models also provide a complete range of robot models to automate various industrial applications. From 700 to 1100 mm reach and 6 to 10 kg payload, you’re sure to find the best configuration for your workshop and part requirements. But what makes them stand out is their smart vision and sensing capabilities that work particularly well for sanding applications. TMvision enables them to visually inspect their work while accurately sanding and polishing sophisticated parts.
CRX

Newborn Fanuc robots, the CRX models have entered the market to help manufacturers quickly leverage automation. With one of the most intuitive touchscreen coding interface and Fanuc quality fabric, it’s a good choice for automation starters. As a flag-fledging model, it also relies on the ever-growing Fanuc ecosystem and on partners’ end-effectors. The ATI Fanuc sanding kit is especially convenient to get a sanding process running.
Which end effector or robotic kit for your polishing work ?
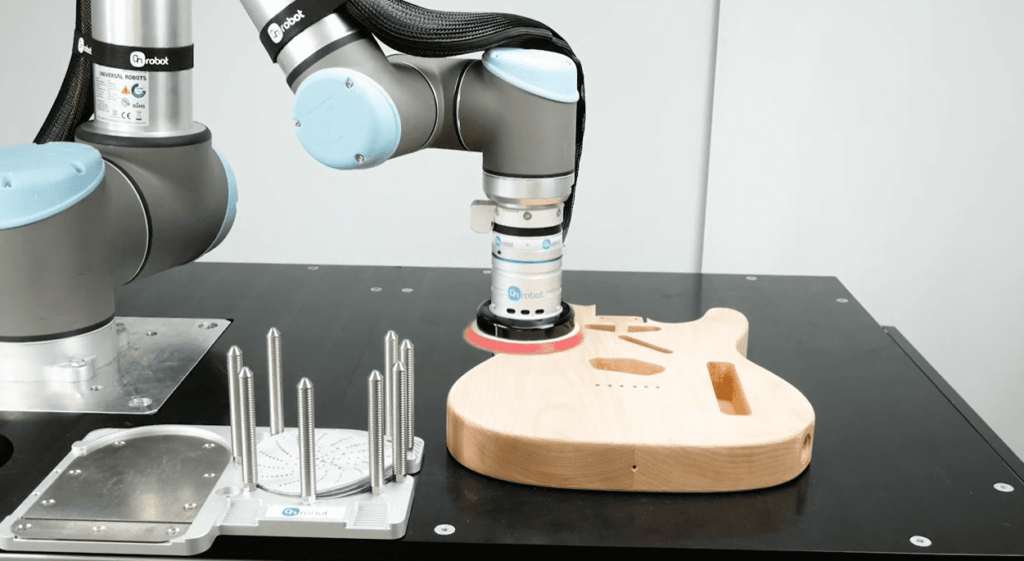
Sanding effectors are essential to the sanding processes, as their abrasive properties closely shape your product surface. Robot and cobot manufacturers provide some great orbital attaching tools to make your sanding application successful :
Robotiq

A true bestseller on the market, Robotiq’s sanding kit integrates both software and hardware to make your cobot sand effectively. The orbital tool supports a wide variety of materials (metal, plastic, fiber, and other solid surfaces). The copilot finishing software automatically generates an optimized working path from your teaching waypoints. The only downside (if that’s one), you can only use it on a UR cobot.
OnRobot

OnRobot also provides an all-in-one electric orbital sander tool. The Plug-and-play orbital is quick to set up and features replaceable sanding discs that you can adapt to any geometries and surfaces. The optional grit changer makes it even faster to change your sanding configuration. The Sanding Software fits into any of your robot teaching pendants and helps you intuitively program your work paths. OnRobot indeed supports a wide range of commercially available robots to better respond to your existing resources.
Mirka

As a long-standing sanding specialist, Mirka sells its own robotic sanding and polishing tool series. You can rely on its various specs of sanding heads to get the one that best fits your existing application. The top-quality abrasive discs support any material, minimize dust exposure for workers’ good health, and include made-to-last quality fabrics. To get started in your collaborative sanding process, Mirka especially provides a dedicated UR kit.
ATI-3M

Historic Industrial automation manufacturer ATI has recently introduced to the market its powerful robotic orbital sander. Thanks to built-in compliance, the AOV-10 fits in any sanding application—even those that require a very light touch. Pneumatic force sensor and double-acting motion ensure to deliver the right finishing touch. The automatic media changer makes it easy to shift tools and supports leading 3M abrasive discs, to make it very versatile. For the moment, it works with UR and Fanuc CRX robot models.
Setting up your sanding cell: a step-by-step guide
Setting up a new sanding cell is not only about buying a brand-new automation solution. You also need to carefully reconfigure your sanding cell, consider the human-robot interactions in place, and retrain your existing workforce.
It takes a lot of consideration, and that’s why we’ve made this step-by-step guide to get you through this implementation process :
1. Define your needs
First things first, you need to agree on the goals you want to achieve through your automation project.
What’s your main issue? Achieving higher output consistency and quality, improving production performance and cycle times, or freeing up your workers from tedious and dangerous tasks? When you know what you’re aiming for, you have everything in your hands to make the right buying decision.
2. Choose your sanding tools
Depending on your requirements, you can look for specific features to guide your decision :
- Technical specs: reach and precision are especially important to ensure your robot can accurately sand your part. A robot’s speed determines its sanding performance.
- User-friendliness: is the robot coding interface easy to learn and use for your sanding workers?
- Safety: which features ensure your worker’s protection against debris, dust, projections, and unexpected collisions?
- Flexibility: is your robot lightweight, easy to transport, and quick to set up? This will greatly matter if you have to regularly change your sanding cell or bring different sanding parts.
3. Think Safety First
Even though cobots are technically safe, you still need to do a safety assessment of your sanding cell. It’s your job to make sure that your robots’ collaborative features are in good use and that they don’t pose any threat to your workers.
That’s especially the case in sanding, where the robot pressure on your product surface can generate multiple hazards (dust, debris…). So you need to consider every interaction between your robot, your workers, your end-effectors, and your products.
4. Set up your sanding cell
As workers can safely work alongside collaborative robots, you don’t need to add fences to your sanding cell.
You can even place your robot in an open area, where your workers can freely come to check the robot’s work and get back to their main duties. More details here.
5. Reconsider your Labor Organization
Sanding robots are not just one more addition to your sanding process; they completely redefine your workers’ roles and tasks. As they handle more repetitive and straightforward processes, you need to reallocate people’s workload in your organization.
Are your sanding workers going to manage the robot setting, coding, and part delivery? Or are they going to work on more sophisticated sanding parts or another unrelated task?
We recommend leveraging human-machine collaboration – where robots continuously operate and workers monitor their work and are ready to intervene in any unexpected situation so that you get the best of both worlds.
6. Manage your Employees Training
Finally, you need to organize your employee’s training. Even though collaborative robots are often easy-to-use devices, they still need to know how it works and how they can handle them. The training should particularly emphasize coding features and safety protocols. This will make sure employees are confident in their new robotic job.
You have now everything in your hands to buy, set up, and maintain a sanding robotic solution. It’s your turn to make the best of it, and speed up your sanding processes!